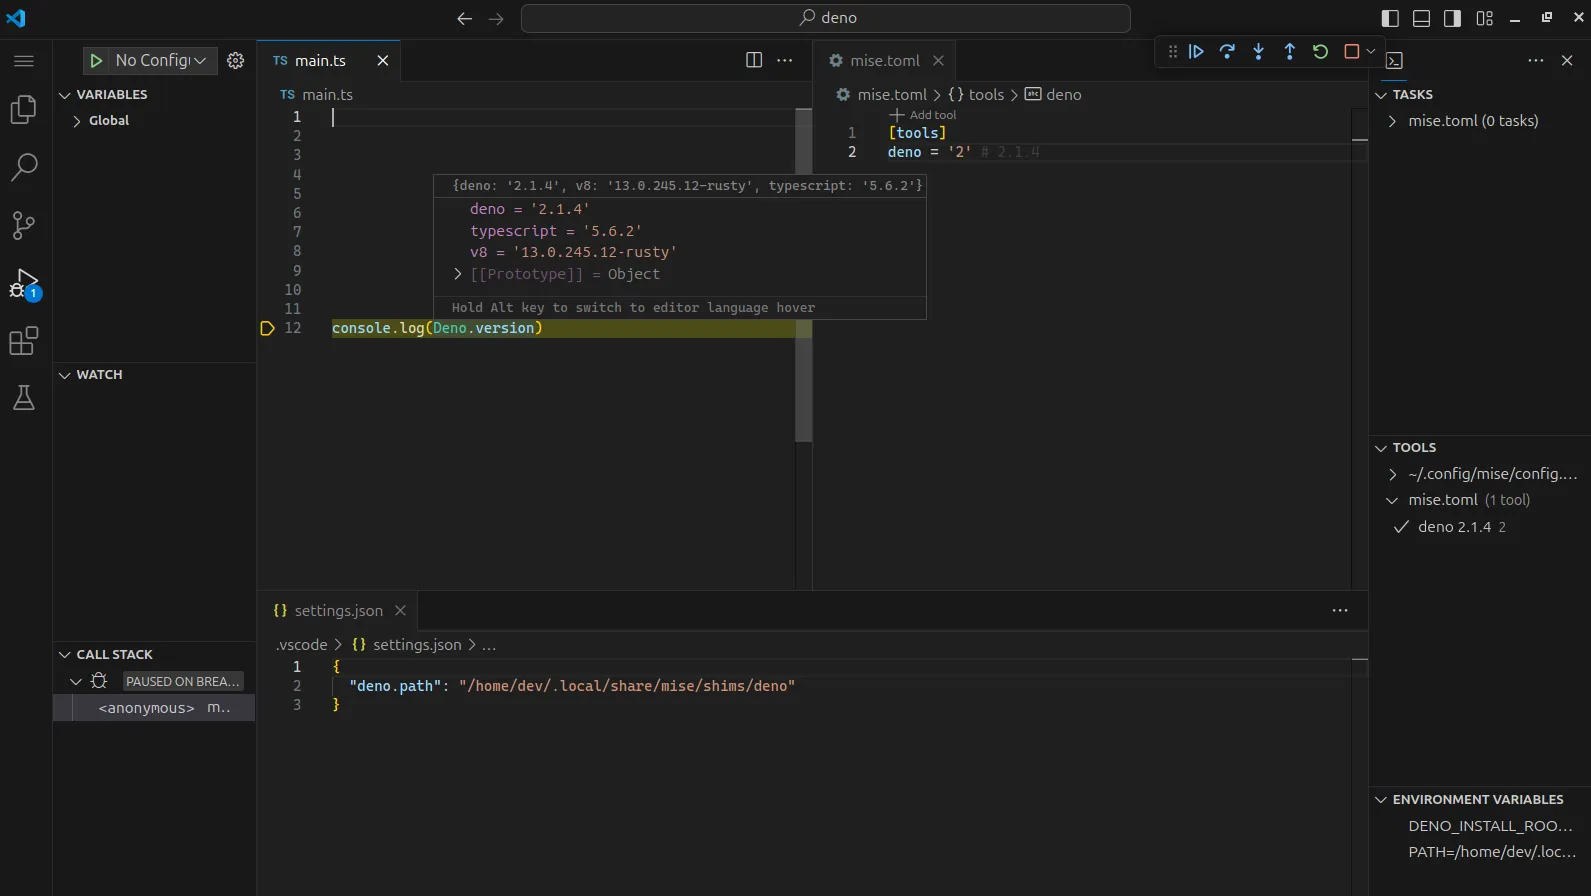
Deno setup
Here is how to set up Deno in VS Code with mise:
- Install the mise-vscode extension (if not already installed)
- Install the Deno extension for VS Code
- Open a project with a
mise.tomlfile (or any other files supported by mise)
If your project has a mise.toml file, such as the one below:
[tools]deno = "2"mise-vscode will automatically detect it and set deno.path in your workspace settings.

If you want to quickly initialize a Deno project, you can use the following commands:
-
mkdir my-deno-project && cd my-deno-project
-
mise use deno@latest
-
deno init .
This will create a new Deno project with a mise.toml file that specifies the latest version of Deno.
Open the main.ts file in VS Code and click the run button, you should be all set!